Image

![]()
Supplies:
Directions:
Watch this project at: https://www.youtube.com/watch?v=852TC3_bSbU&list=PLMEg2Dd0dSFctLfDQxsL5…

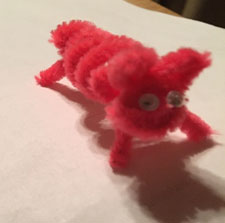
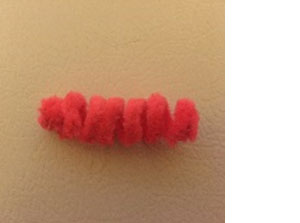
Pig:

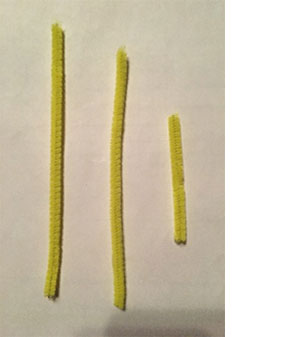
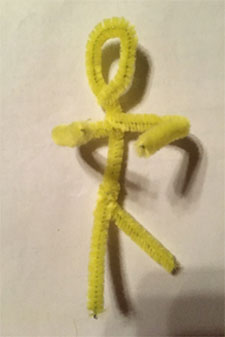
Farmer:
Assemble the Farm:
Want to show off your farm diorama? Post a photo on Facebook and tag @ppldteens or @ppldkids. Find more fun projects to try at https://ppld.org/kids/create/whats-new.

Take and Make kits for this project will be available at area PPLD libraries beginning Dec. 26, 2020
Reading and writing go together! Writing begins with scribbles and other marks on paper. Encourage your child to “write” in various ways. In doing so, he’ll practice hand/eye coordination and develop hand muscles. Encourage your child to talk about what he is drawing. You can write captions for the drawings. As you do this, he’ll start building connections between written and spoken word.
See what he can create with these simple reading readiness activities:

