

The free supplies for this September Take and Make will be available at area PPLD libraries beginning September 8, 2023.
Materials and Directions:
Materials we provide:
plastic needle, yarn, styrofoam plates
Materials you provide:
pencil, scissors, tape, scrap paper (optional)
Directions:
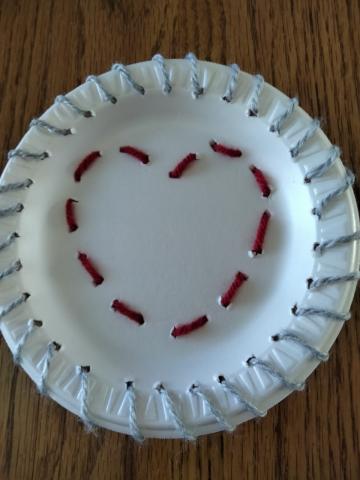
Here are tutorials (https://tinyurl.com/bdfv82kk) for basic sewing stitches. We recommend running stitch, backstitch, whip stitch, and cross stitch for this project. Also, see additional photos in the pdf file provided.
Running stitch and Backstitch – great for sewing straight lines
Whip Stitch – great for adding a border
Cross Stitch – great for adding details
Step 1:
Use your pencil to create a design on your plate by gently poking the pencil through the plate. The holes should be at least ½" apart. (You may want to draw it on scratch paper first.)
Step 2:
Cut a piece of yarn no longer than your arm. Thread it through the needle. It may help to tie one end of the yarn to the needle so it doesn’t come unthreaded. You should have a long end and a shorter end.
Step 3:
Beginning at the back of the plate, sew in and out of the holes you poked to complete your design. Pull the yarn taut after each stitch, but don’t pull too hard and tear the plate. You may tape the end of the yarn to the back of the plate to hold it. When you run out of yarn you can either continue with the same color or begin a new color.
Use the second plate to create a different design.