

 We are experiencing recent outages to the online catalog, PPLD mobile app, and Libby/OverDrive. Click here to learn more.
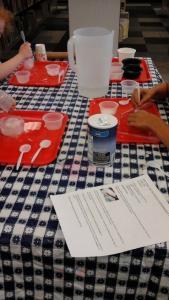
Supplies:
- Bowls or containers to use to make the ice
- Large tray with sides or cookie sheet
- Salt
- Liquid watercolors or food coloring – please note that food coloring can stain
- Droppers and/or a spoon
Instructions:
- Fill a variety of bowls or containers with water and freeze them at least overnight. Different sizes and depths are preferred.
- Remove the ice shapes from their containers and place them on the plastic tray or cookie sheet.
- Give your child a bowl of table salt – the cheaper the better. Have them sprinkle it on the top of their ice. They can also use a dropper to drop warm water on.
- Watch as ravines form down the side of the ice as the salt melts it!
- Squeeze a little bit of a food coloring onto the ice and watch what happens! The food coloring or liquid watercolors will highlight the ravines, crevasses, and tunnels that are forming.
- Discuss how salt melts the ice.